
What am I teaching you?
I will be teaching you how to create an animation of your name being handwritten! This will involve several layers, a frame animation set up, erasing bits of your name, and several different affects being used.
Where to begin?
Start by creating a new file in Photoshop, measuring 600x150 pixels, not inches or whatever else may be an option. Choose a font that you like and type your name rather large in the 600x150 space. You may need to crop the image later to make it fit better.
Rasterizing your type

Erasing

Begin erasing your name in a way that is the reverse of writing it out, and each time you erase a bit of your name, create a duplicate of the layer you are currently on and hide the previous layer. I started at the top right start of the "V", because in the english language we tend to write from left to right, but remember: this is going to be like reversing the action of writing out your name! Do not start from the right! Don't forget to duplicate layers and hide the previous layer! It is also VERY important to save after every major step, so if you make a mistake then you can restart from your previous save that you created.
After you have erased it all it should look something...

Like this! It looks like nothing, but remember you have your large number of layers, which will become your frames.
Animating
On the frame animation window, click the little menu on the upper right hand corner of the window, and select make frames from layers. This will create frames from all of your layers. You may need to make the background visible on each frame, and to do this all you need to do is select all the frames, and click the little eye thats on the background layer, and it will be visible on each frame. You may also need to delete some frames, like any blank layers at the end will need to be deleted.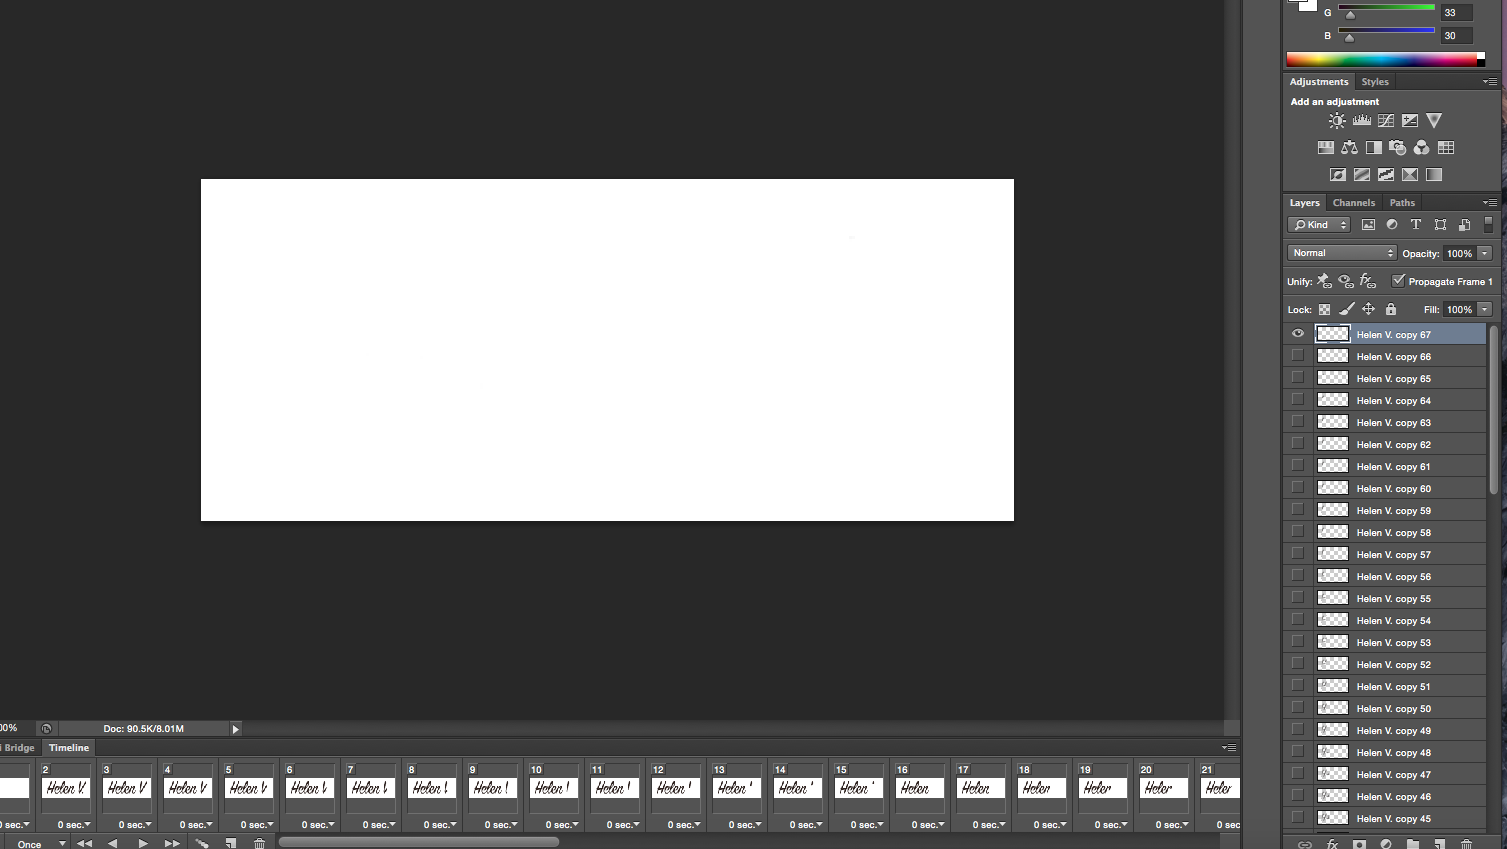
Your Photoshop window should look something like this, with a bunch from layers to the right, and frames on the bottom in the animation timeline. But! Your frames are backwards, and if you play your animation, it will look like you're erasing your name! To fix this, select all your frames, click the little menu we used to make our frames, and select reverse frames, as seen in this image:

Tweening
Now, your animation may seem a little boring, just being written out, and nothing happening at the end. If you would like, you may add some effects to the end of the animation! To do this, select the end layer that is your name completely written out, no erasing done yet. Click the little "fx" button at the bottom of the frames window, and mess around with these effects. I will show you how to do outer glow, for this tutorial.

Mess around with the settings of the outer glow effect, until you get something that looks something like this:

A light glowing around your name! As described by the name of the effect. But you need to animate the effect in so it doesn't just suddenly appear on the last frame. To do this, select the frame with the effect, and then click the little menu on the upper right hand corner of the animation window and select tween, above the reverse frames button we used earlier

Once you have selected that, a window will pop up and have several different options to choose from. I just used these settings. Make sure you're tweening with the previous frame.

This should create 5 new frames between the effect frame, and the frame without the effect, making it look like the effect is fading on to the screen. Don't forget to save after all of this!
Saving

If you would like to save as a .GIF file, then go to file on the upper left corner of the screen, and go down until you find "save for web". Click this and a window will come up.

In this window, set the preset as "GIF 128 No Dither" and leave everything else as is. The preset will select all the things you need without you needing to do anything. You can preview the animation by selecting the play button in the lower right corner, above the done button. Once you are done setting the preset, click save, and your animation should be saved to whatever folder you chose to save it to. Once it's saved and you have opened it, your animation should look like this:

The End!
You're done! Hopefully you are pleased with your outcome. If you think something might be wrong, then go back to your previous saves and check to make sure you did everything. You might not get everything correct the first time, so keep trying if you don't!
