1. Have your logo made in Illustrator
Don't worry about color, yet. Your logo will just show up grey in Maya anyway.
2. Convert your text to outlines
Once your logo is made, if it has any text in it, make sure you convert the type to outlines by selecting the "Type" menu on the bar up top and then selecting "Create Outlines". Otherwise, Maya wont be able to detect that something is there. After you create outlines, the text should look like the image on the right.
3. Saving your Illustrator file
Once you're ready to put your logo in Maya, save your Illustrator file as an "Illustrator 8" file. To do this, just use the menu that pops up after you save your file to whatever folder, and open the drop-down menu and select "Illustrator 8".
5. Importing to Maya
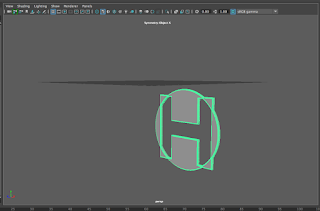
Make sure you have a new project made in Maya. Once you have your new project, go to the "create" menu, and then select "Adobe Illustrator Object", and find your file once the file viewer opens. You'll then see your logo as shown below.

At this point, you can mess with the thickness and bevel and such to your own tastes.
When you want to add color, just change the material of the object by right-clicking and selecting "assign new material". From there you can chose a material you like and then change the color in the attribute editor.


No comments:
Post a Comment